Print Model Car Parts!
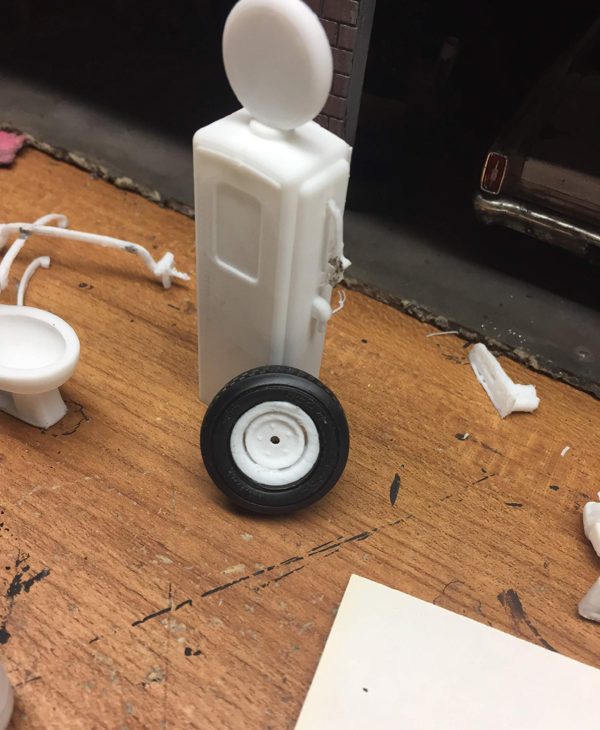
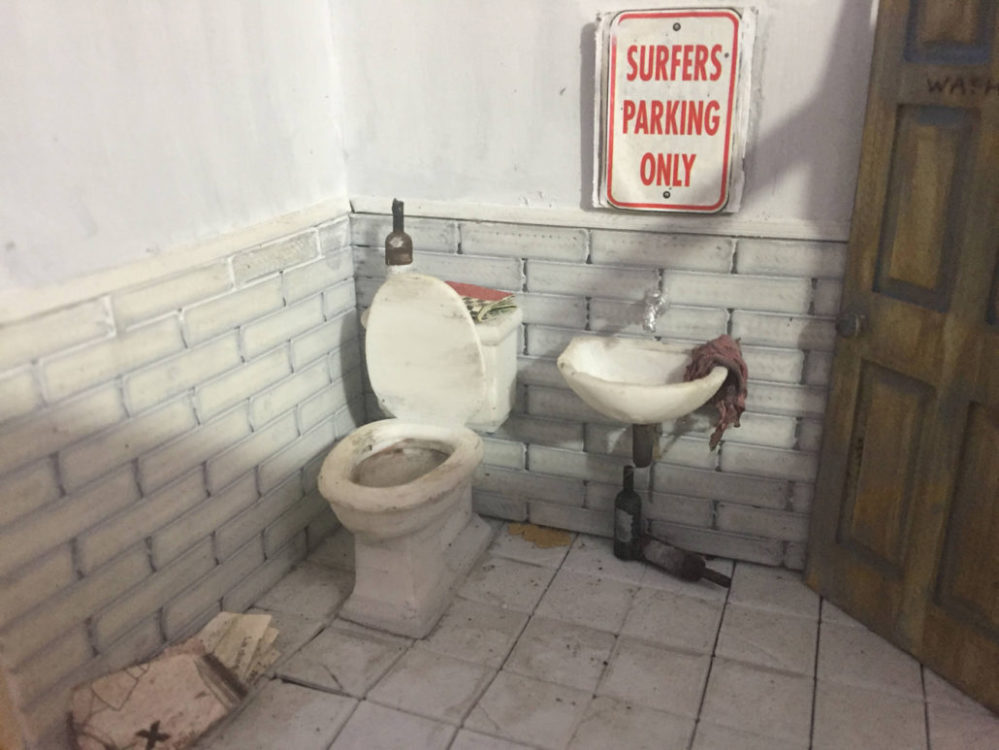
Here are some 1/24 – 1/25 model parts I 3D printed with the Ender 3. Even the parts that don’t turn out that well are usable with the amount of weathering I do to fit them into my junkyard diorama.
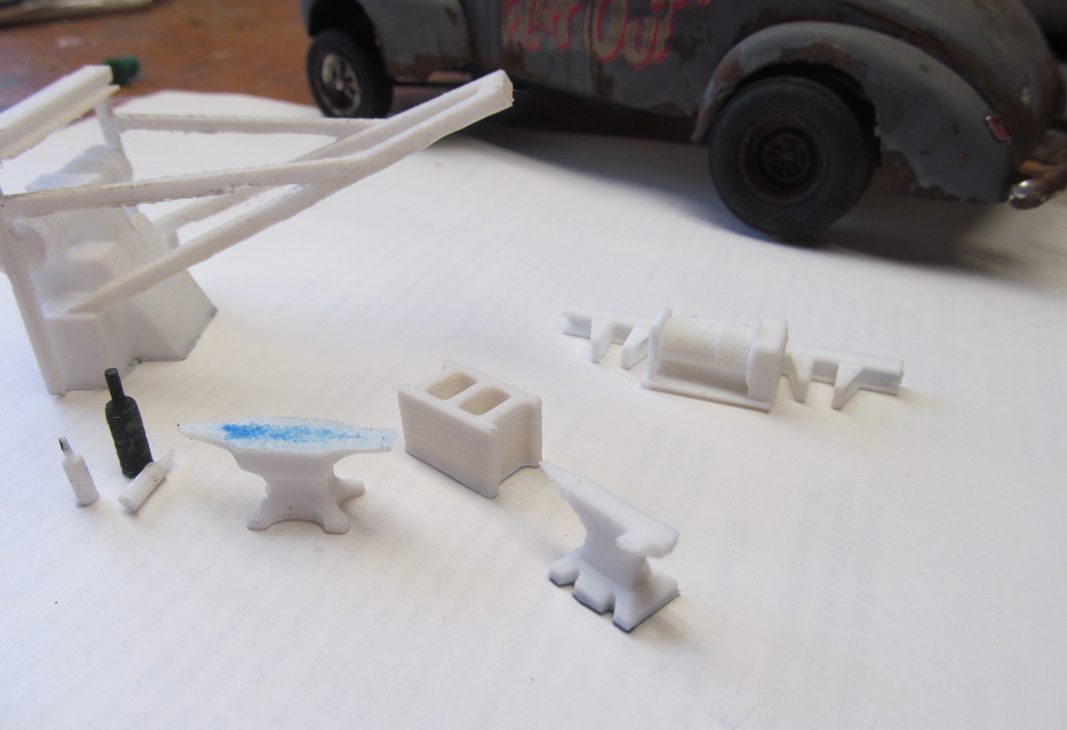
The Wrecker boom is a little off because of a setting on the printer which creates supports for the item while printing, but it’s fine for a junker. The brick was a much larger scale to start with however the printer comes with software that makes quick work of scaling items down.
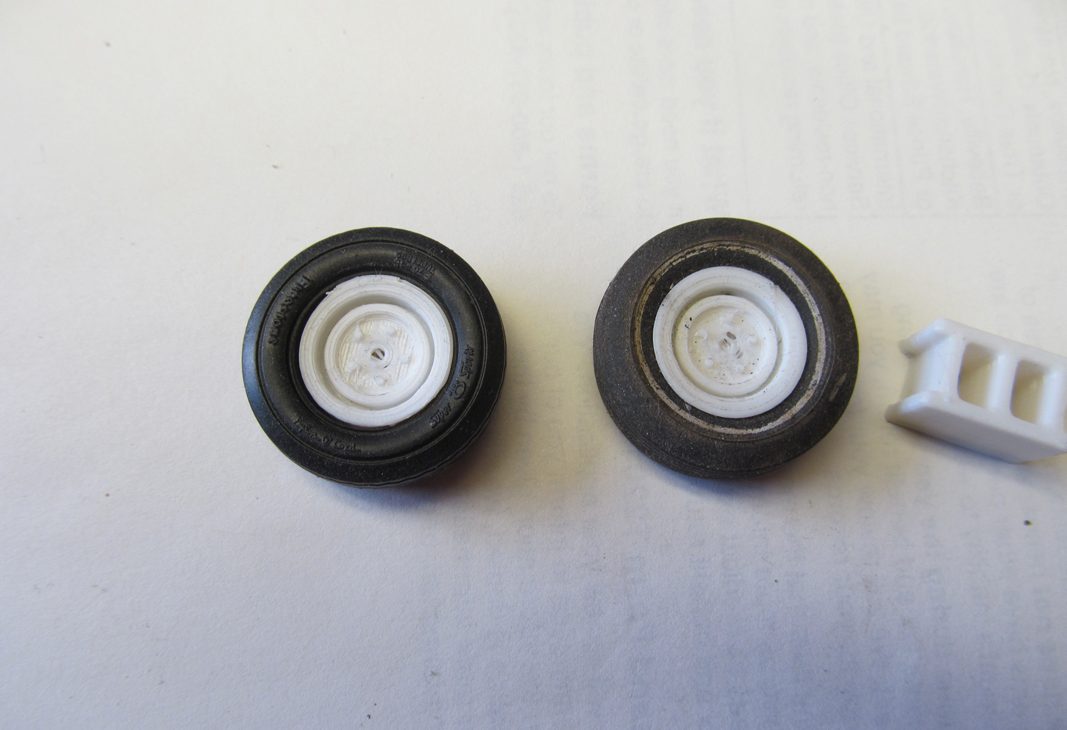
Stock Steelies! This alone was enough reason for me to purchase the ender 3. I can’t tell you how many kits I had to ravish for those stock rims over the years.
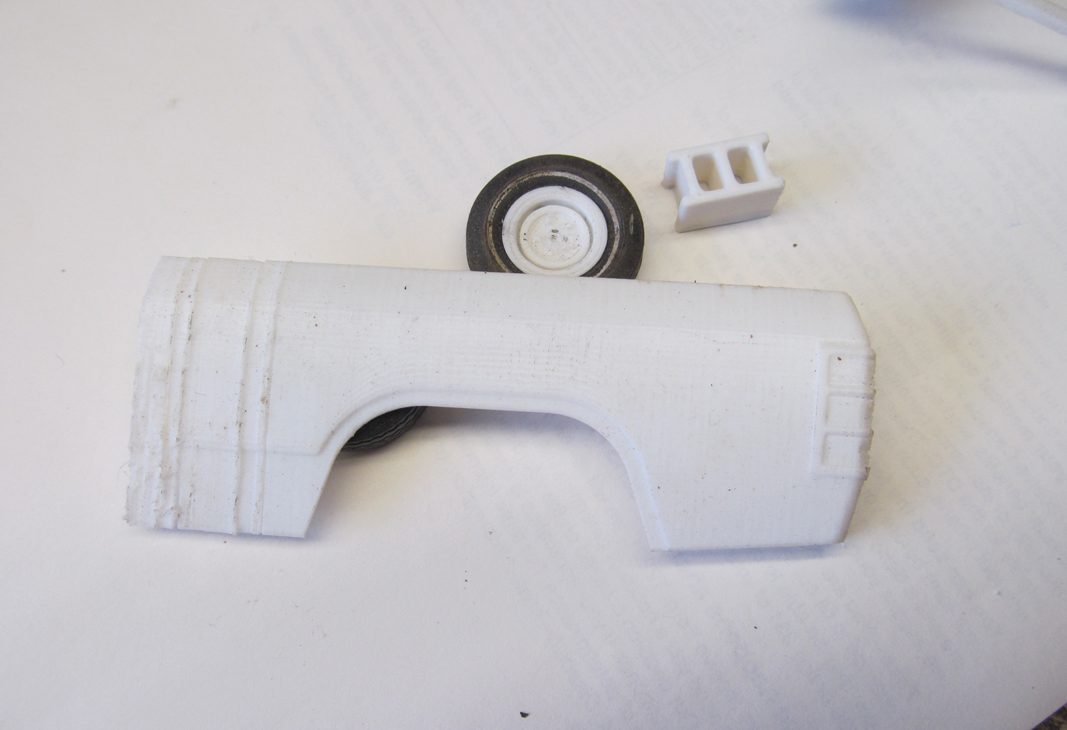
Just starting to try body panels out. The part came loose from the printer bed while in progress creating those ridges, I’ve since figured out what went wrong and corrected. Stay tuned for updates on larger panels and perhaps complete bodys.
Another discovery was trying to glue the PLA plastic that most people use to print stuff. Was a real pain, worse than working with a resin kit in fact. I’m not saying it is impossible, just not practical when you are working with a lot of pieces.
The good news is, they sell ABS filament ( Acrylonitrile Butadiene Styrene ). That’s right, Styrene! This however, lead to another road bump. I noticed that all the settings for PLA were not going to work on ABS. The ABS requires a much hotter tip and bed, there is also an issue keeping the parts stuck to the bed while printing.
I found the best method to be;
- Use 2′ masking tape (painters blue) on the print bed.
- Lightly scuff the tape surface with purple scotch pad.
- Wipe the surface with Alcohol.
- Be sure NO drafts are present around printer (bed cooling)
Common settings for ABS are 110°C for the bed and 230°C at the tip. So far most of my problems have been with getting the parts to stay on the printer bed. I cut drafts down by making a foil wall around the printer, that has been working good so far.
Using the ENDER 3 to print model car parts has been a great advantage to my Diorama.
